.... leave the rest to me!
But I understand, sometimes you want to it
all by yourself. In which keep in
mind:
Plenty of food +Plenty of favours =
Plenty of fun tells us Gina
1)
Plan Early
So many of us pile 200 things on our daily
to-do list that we are still working on tasks from 2010. Work through what
could be an otherwise very stressful situation by sitting down in a calm and
quiet place (away from the kids, of course!) and figuring out what needs to be
done and when. Things you will want to tackle first include: choosing colors
and a theme for the event, putting together a guest list (try to keep it small
and intimate-the more folks that attend your event, the more work you will have
keeping everything in order), deciding on decorations, creating a menu, and
sending out invitations. If your party is going to be somewhere other than your
house, venue selection is something else you want to take care of sooner than
later.
By planning ahead you will allow yourself
plenty of time to handle unforeseen situations and get some of the work out of
the way long before the event is scheduled to take place. By doing as much
pre-party work as possible, you are making it possible to relax and enjoy interacting
with your guests the day of the event.
2)
Be Present
Sounds easy, right? Well it is harder than
it may seem. I cannot tell you how many times I have attended parties for my
son’s friends where the hostess of the party did not make more than a five
minute appearance throughout the entire party. This is especially a problem for
moms hosting a party for smaller children (say under 7).
Everyone knows that a child’s party is just
as much for the parents as it is for the children. Adults want to have a good
time too! So being present requires party hostesses to have things prepared
ahead of time so when it comes party time, they are free to 1) Plan Early
So many of us pile 200 things on our daily
to-do list that we are still working on tasks from 2010. Work through what
could be an otherwise very stressful situation by sitting down in a calm and
quiet place (away from the kids, of course!) and figuring out what needs to be
done and when. Things you will want to tackle first include: choosing colors
and a theme for the event, putting together a guest list (try to keep it small
and intimate-the more folks that attend your event, the more work you will have
keeping everything in order), deciding on decorations, creating a menu, and
sending out invitations. If your party is going to be somewhere other than your
house, venue selection is something else you want to take care of sooner than
later.
By planning ahead you will allow yourself
plenty of time to handle unforeseen situations and get some of the work out of
the way long before the event is scheduled to take place. By doing as much
pre-party work as possible, you are making it possible to relax and enjoy
interacting with your guests the day of the event.
3)
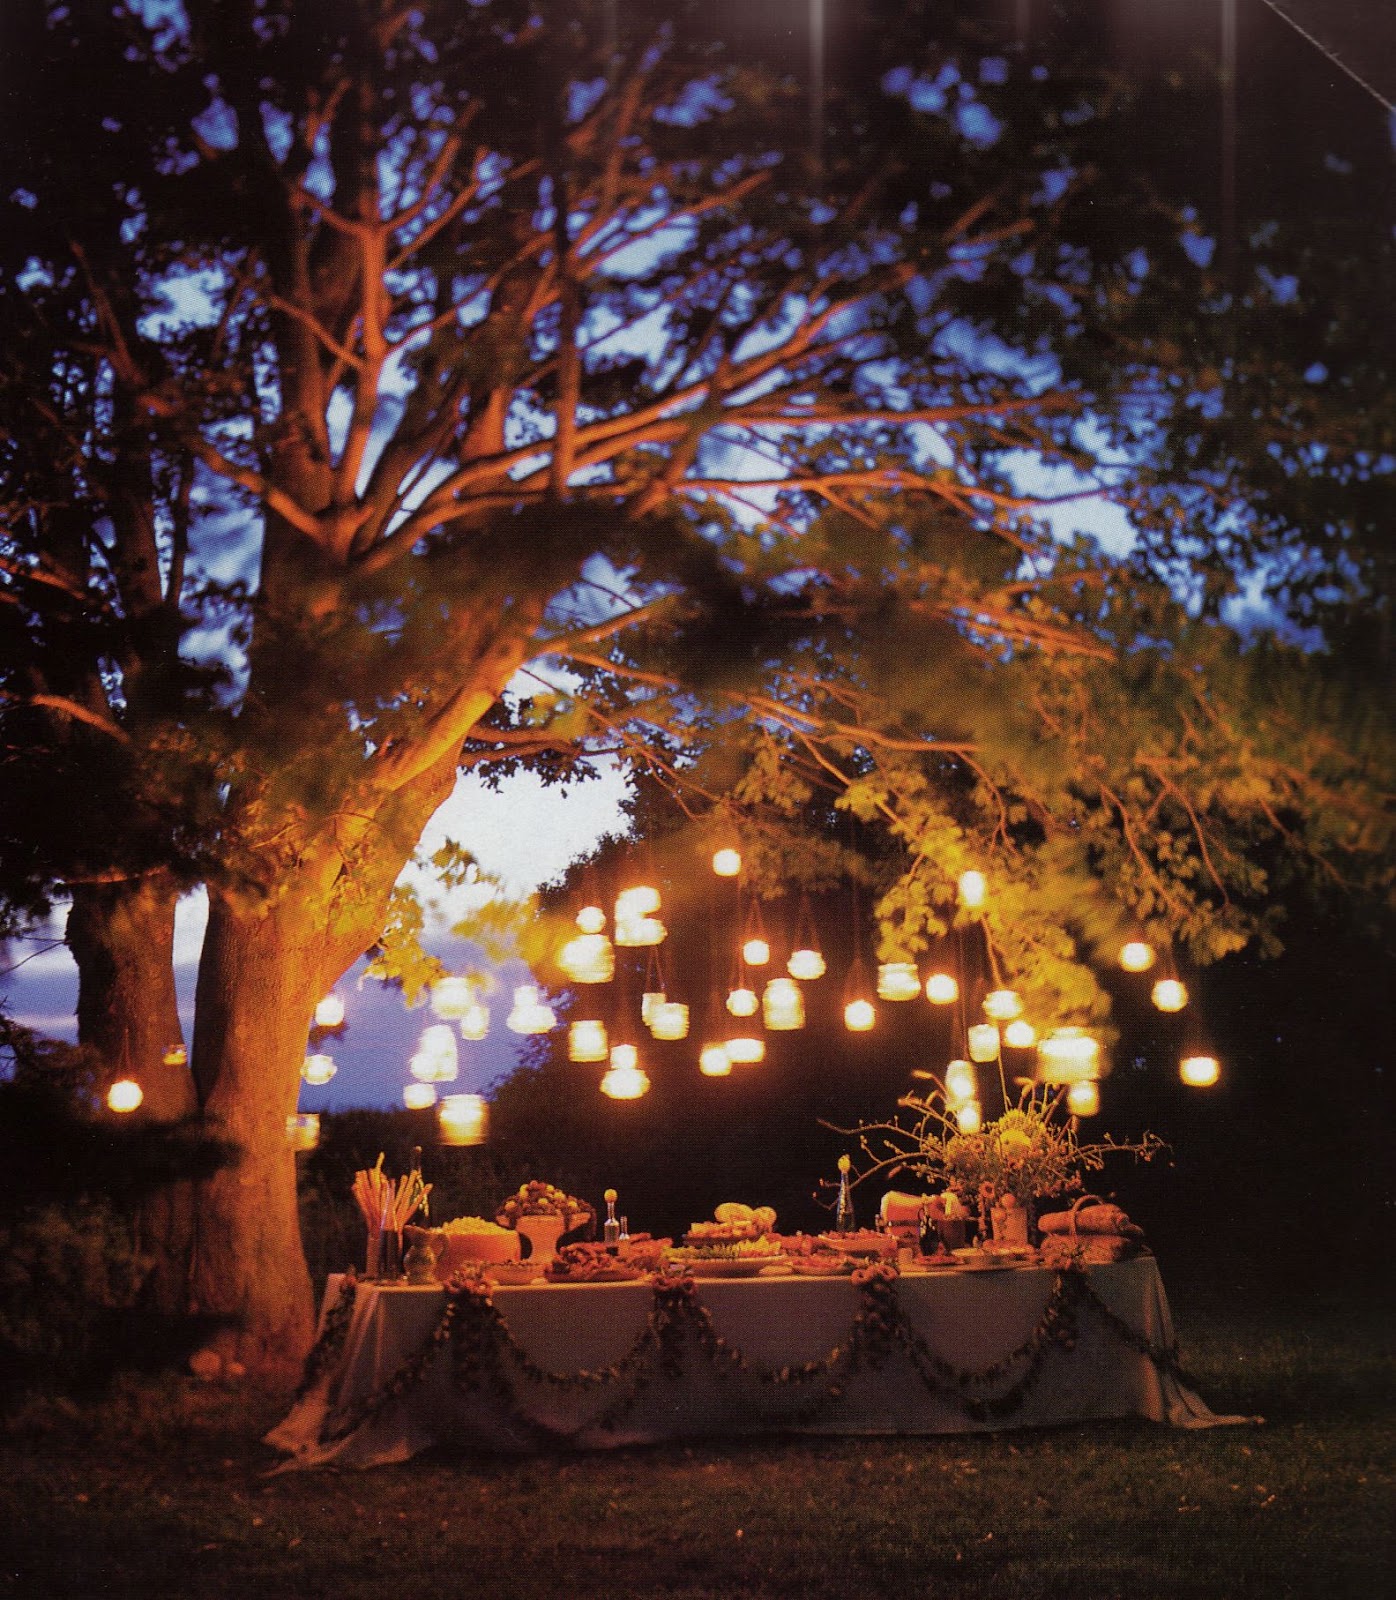
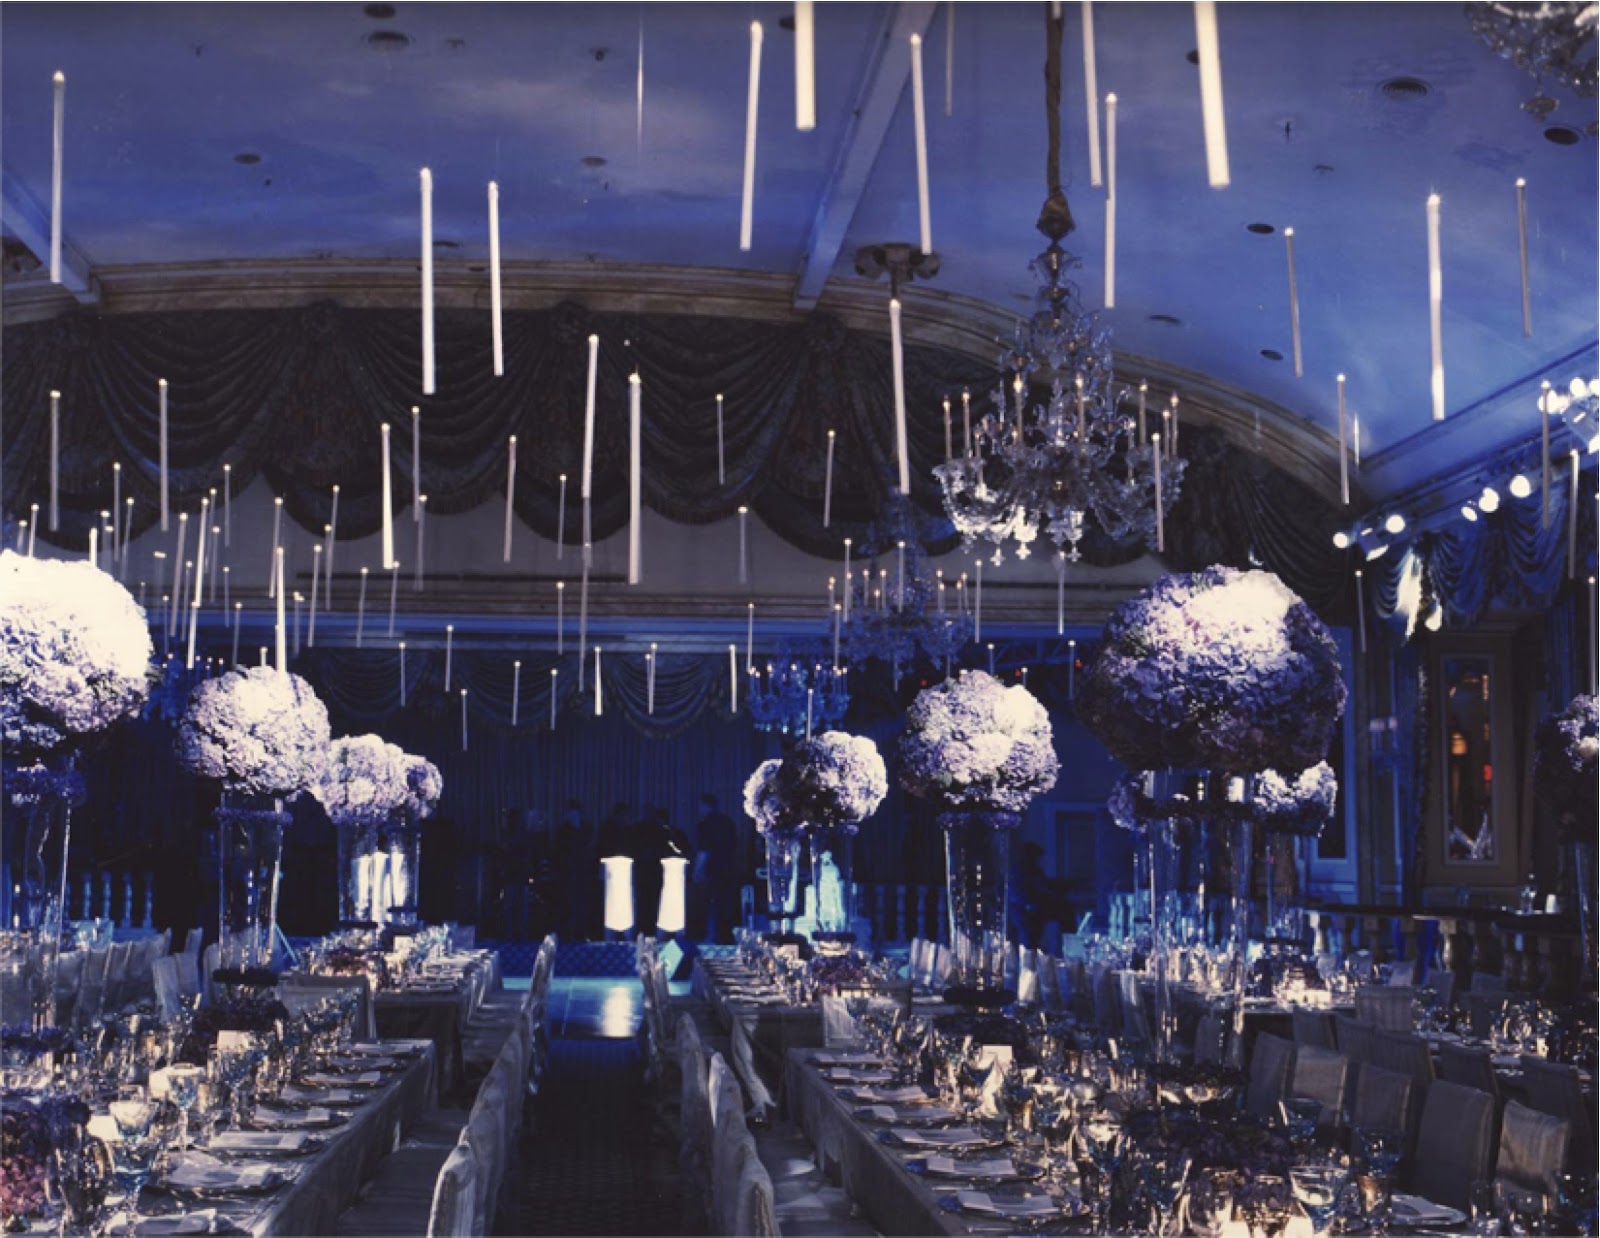
Be Plentiful
Make sure you have more than enough food,
drinks, favors, and games and activities scheduled for the party day. Shorting
some children party favors or not having enough food is a recipe for disaster!
If you are unsure, plan for extra attendees. My rule of thumb is: take the
confirmed guest count and add enough for 5-10 more for everything. That means
more favor bags, more soda, more snacks, more cake and more prizes. You may
have to spend a little more but you can always give out extra and you can never
compensate for not having enough. Besides, everyone loves party leftovers. Besides everyone loves party leftovers.
I will tell you this though, throwing a party is not easy on your own, help is definitely advised, especially from a professional, that way you don't need to worry about warm drinks and cold food, all you have to do is focus on smiling.